Showing posts with label Valentine's Day Bakers Twine. Show all posts

Saturday, February 7, 2015

Shaker/Sequin Card : Happy

Hi everyone. It's me, Padni.
This time I make a shaker card using sequins from Bella Creationz. It's my 1st time to make a shaker card by the way, hope you will like the result.

The card sized 5 x 7 inchs and used paper by Elle's Studio. I put the Kraft Envelope on the card then I cut a doily paper into half. Then I put them each on the top right and bottom left of the card. After that I make a shaker using pretty vintage diecut by K & Co. Then filled it with 2 kind of pretty sequins : Cleary Beloved Sequins and Sparkly Clear Sequins. I embellished the shaker with Valentine's Day Twine and use Happy Days Stamp to make a 'Happy' title.


Supply I use :

Cleary Beloved Sequins
Sparkly Clear Sequins
Valentine's Day Twine
Happy Days Stamp
doily paper

Thanks for stopping by. Have a great day!


-Padni-

Monday, January 12, 2015

December Daily Pocket Scrapbooking Page

Hi ya'll!

I'm Amber from Best Stamped Intentions and I'm SUPER excited to spend a year on this team!  Wonderful ladies to work with and amazing product that I get to get my grubby hands on.  It really doesn't get much better than this!!

Even though it's January, I know that some (most? ;)) of you are still finishing up your 2014 edition of December Daily.  

No judgement here!!  I barely just finished 2013 mid December THIS YEAR!!  Better late than never, right?? :)

Today, I'm going to share days 1 - 8 from my DD out of my family album.

I chose to do mine differently this year.  Instead of creating a full mini album as I did last year, I am inserting it right into my pocket album.

I chose Doodlebug's "Santa Express" as the base for this project.  I'm in LOVE with the bright colors and Timeless Twine accents and matches perfectly with it!!!

Throughout the course of this year, I'm going to show you how easy and {CUTE} it is to use Twine in your pocket spreads.  It adds so much to your LO's.  

Here's my full spread:
You can click on each image to open it up bigger to see all of the detail!


And, a quick collage of all of the cards that include twine, sequins or stamps from Timeless Twine/Bella Creationz.


I hope you enjoyed looking at my project as much as I enjoyed making it.  You can hop over to my blog to see each card in more detail.

xoxo, Amber

Products used:
Vintage Christmas Sequins (Card 6 and 2nd Re-cap)
Lemonade Yellow Twine (washi tree card)
planNERD2 Stamps ("family" w/gingerbread girl card)
Valentine's Day Twine ("happy" and geo tag card)
Solid Black Twine (geo tag card and 1st recap)
Sparkly Clear Sequins (washi tree card)
Happy Days Stamps ("happy" and 5 cards)

Friday, August 8, 2014

Beautiful British Columbia!

Heyyie! Good day to all! How have you been? Will be sharing one of my travel layouts with you! 

Played with Crate Paper latest collection- Open Road! Love how the theme fits my travel photos so much! And I created the line effect with Timeless Twines! I separated the Valentine's Day Timeless Twine into red and pink, as well as the Lemonade Yellow and hand stitched it to form a straight line! It was quite therapeutic surprisingly!:D


Then of course embellishing it with sequins from the June kit! I love the blend of red, blue and white! It goes so well together!:D

Products used:


Any creative inspiration with Timeless Twine? Share your project with us on FacebookPinterest and Twitter! We would love to see them!! Or wanting to stock up on your supplies? Head over to our Bella CreationzThanks for dropping by and have a twine-fastic day! Take care and God bless!

XOXO,

Saturday, January 18, 2014

Door Hanger Valentine's Treat Box

Hi all Rose here with a fun 3D project using some more "new" goodies. If you have noticed our theme this month is "NEW" tools, product, technique, and of course new Timeless Twine and  Bella Creationz products.

Well I am a card girl but I decided to get out of my comfort zone and make a Valentine Door Hanger filled with sweets to give to my hubby.
I call it "Sweets for my Sweet" *winks*


My new items from the  Bella Creationz shop are:
                                       clear candy treat bags,
                                       natural white twine,
SALE - Natural White Twine by Timeless Twine - 1 Spool (160 Yards)
                                  valentine's day bakers twine
Valentine's Day Bakers Twine by Timeless Twine - Strawberry Cupcake Valentine's Twine
                                                             

on a side note: photographing this with chocolate kisses inside was next to impossible once Q smelt there was chocolate around!! yup my kitty loves chocolate as much as i do!! lol 

Have a Twine-tastic day

Tuesday, January 14, 2014

LOVE Mini Album

Hey Everyone!!

Kristy here from Scraptastical Kreations and I'm going to be sharing bits and pieces of my new en-devour; a mini album. I have always LOVED mini albums, but I have always been intimidated by them. So, this year I'm putting my mind to trying new things and this is one of them! {**Confession**} I LOVE making them! I don't know what I was so scared about to begin with, but man-o-man, I was really missing out! However, I have not completed the whole album as of yet, but I will have it done very soon. I will be sharing the entire album via You Tube, as well as on my blog if you would like to see the finished product be sure to stop by and follow my personal blog. So, let's get to it and take a peek!

This is the inside cover of the album. 

This is the first page in the album 

Now we're going to flip the page; this is the left side. 
I have a little more to add to this side, but I ran into a roadblock and had to walk away for a bit. 

Here's the right side 

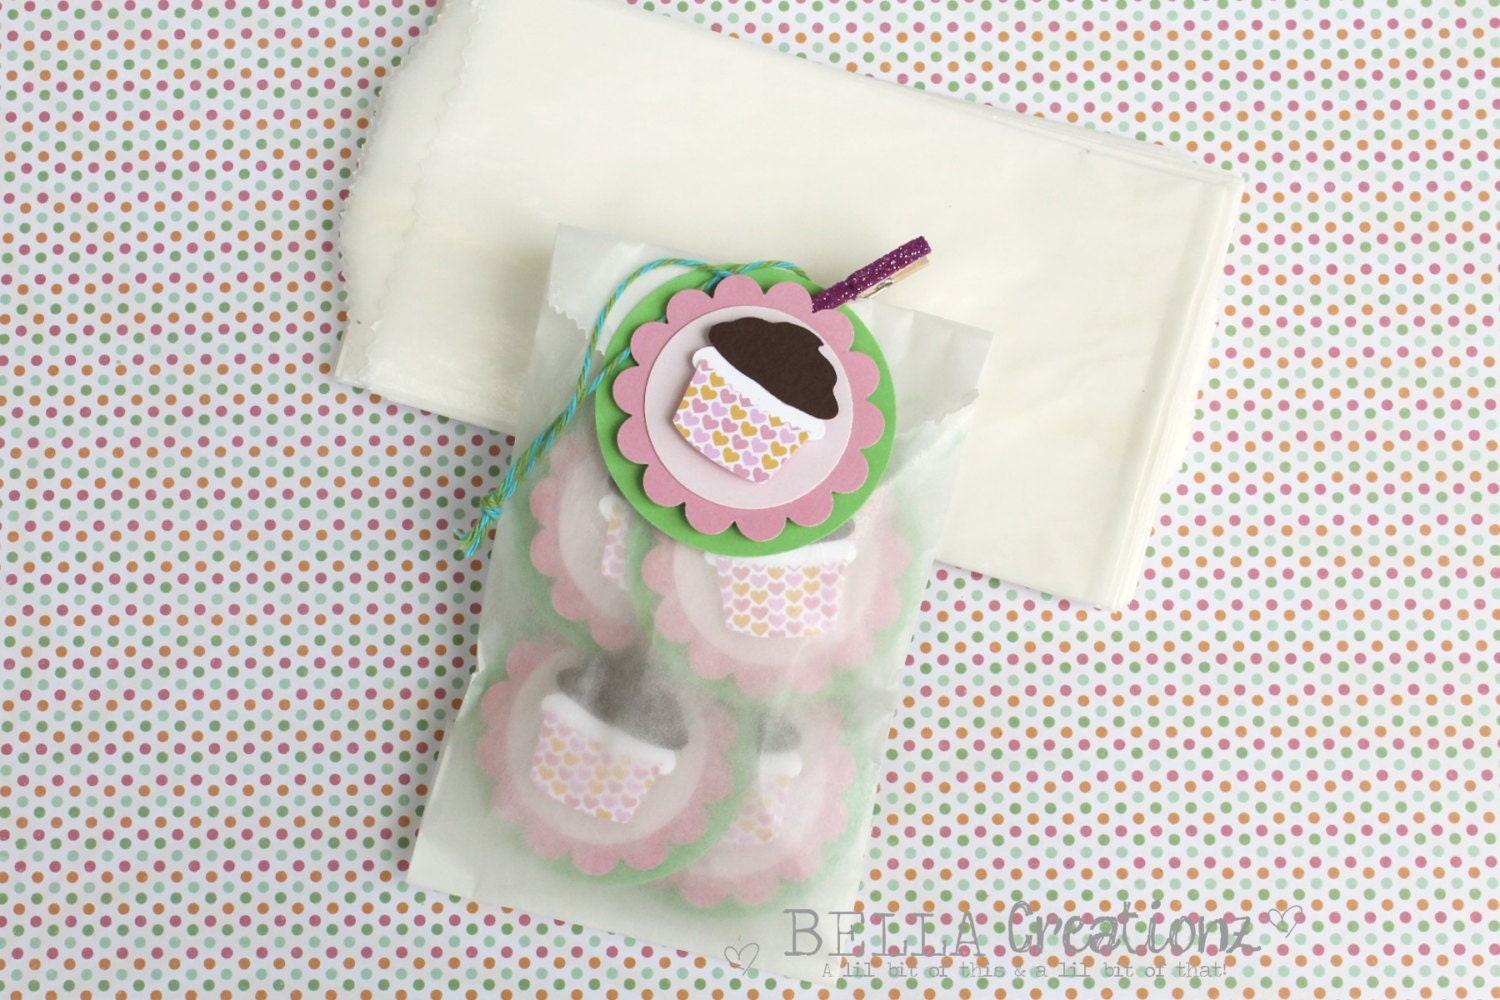
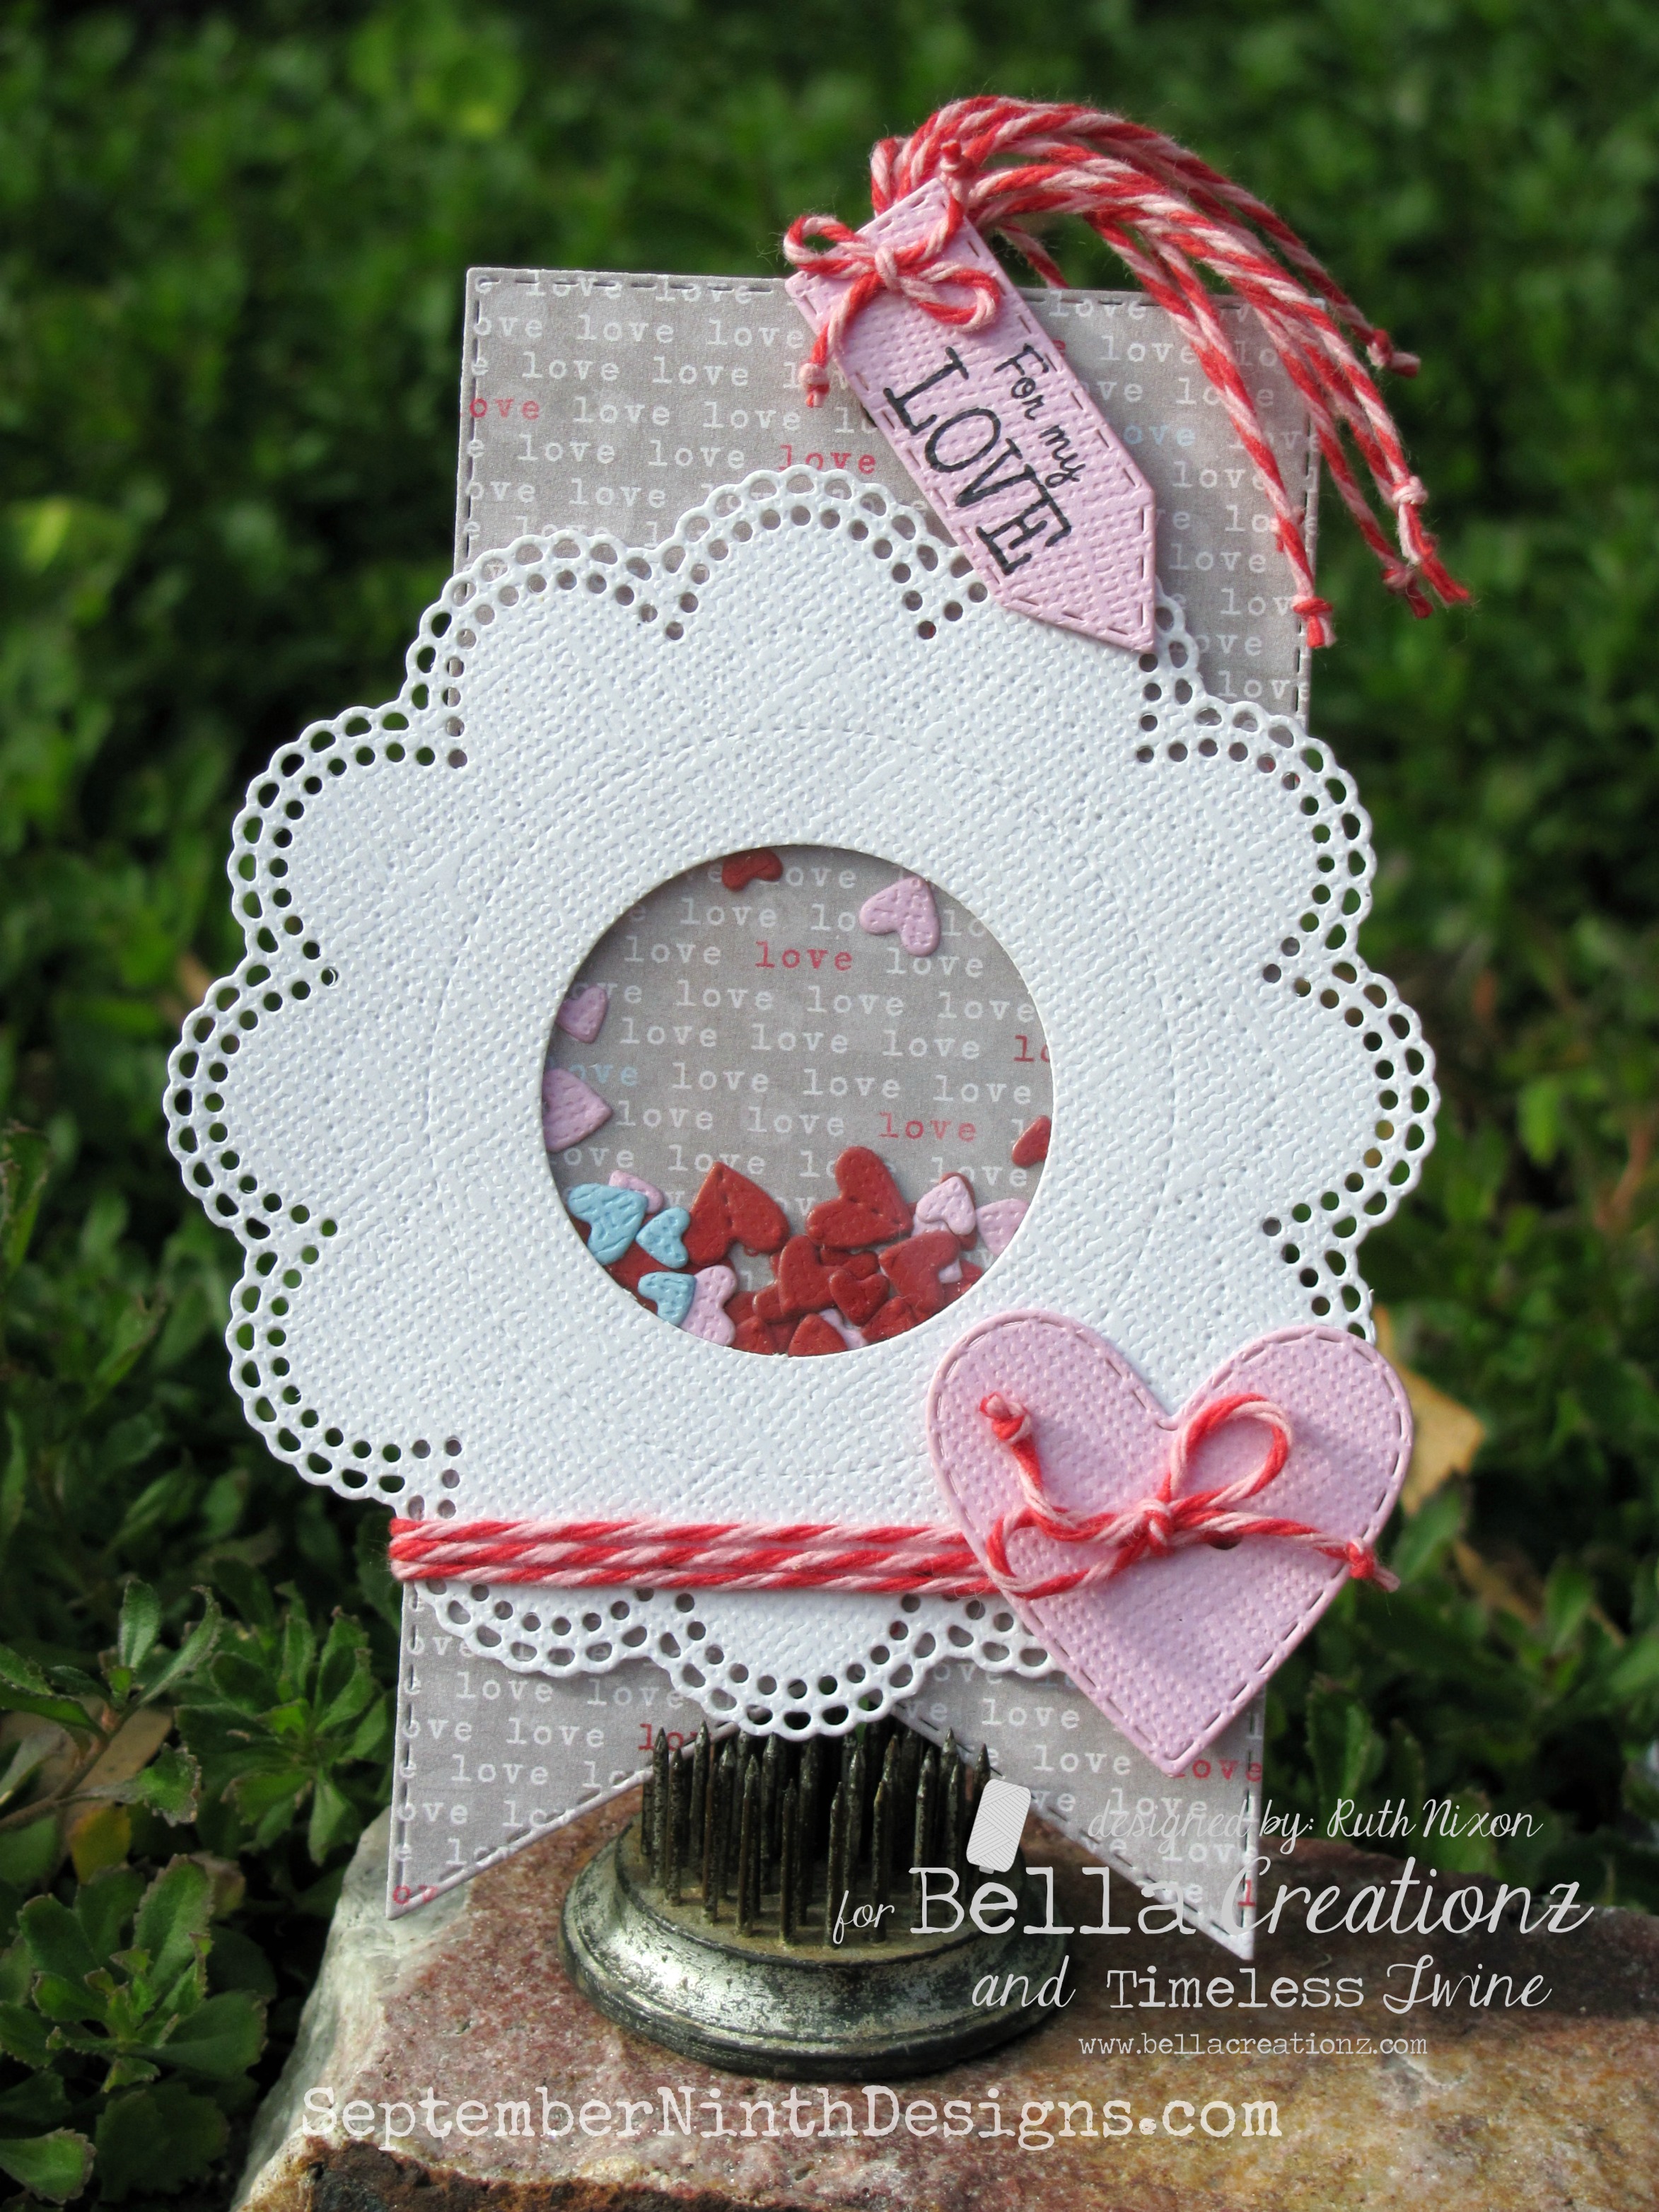
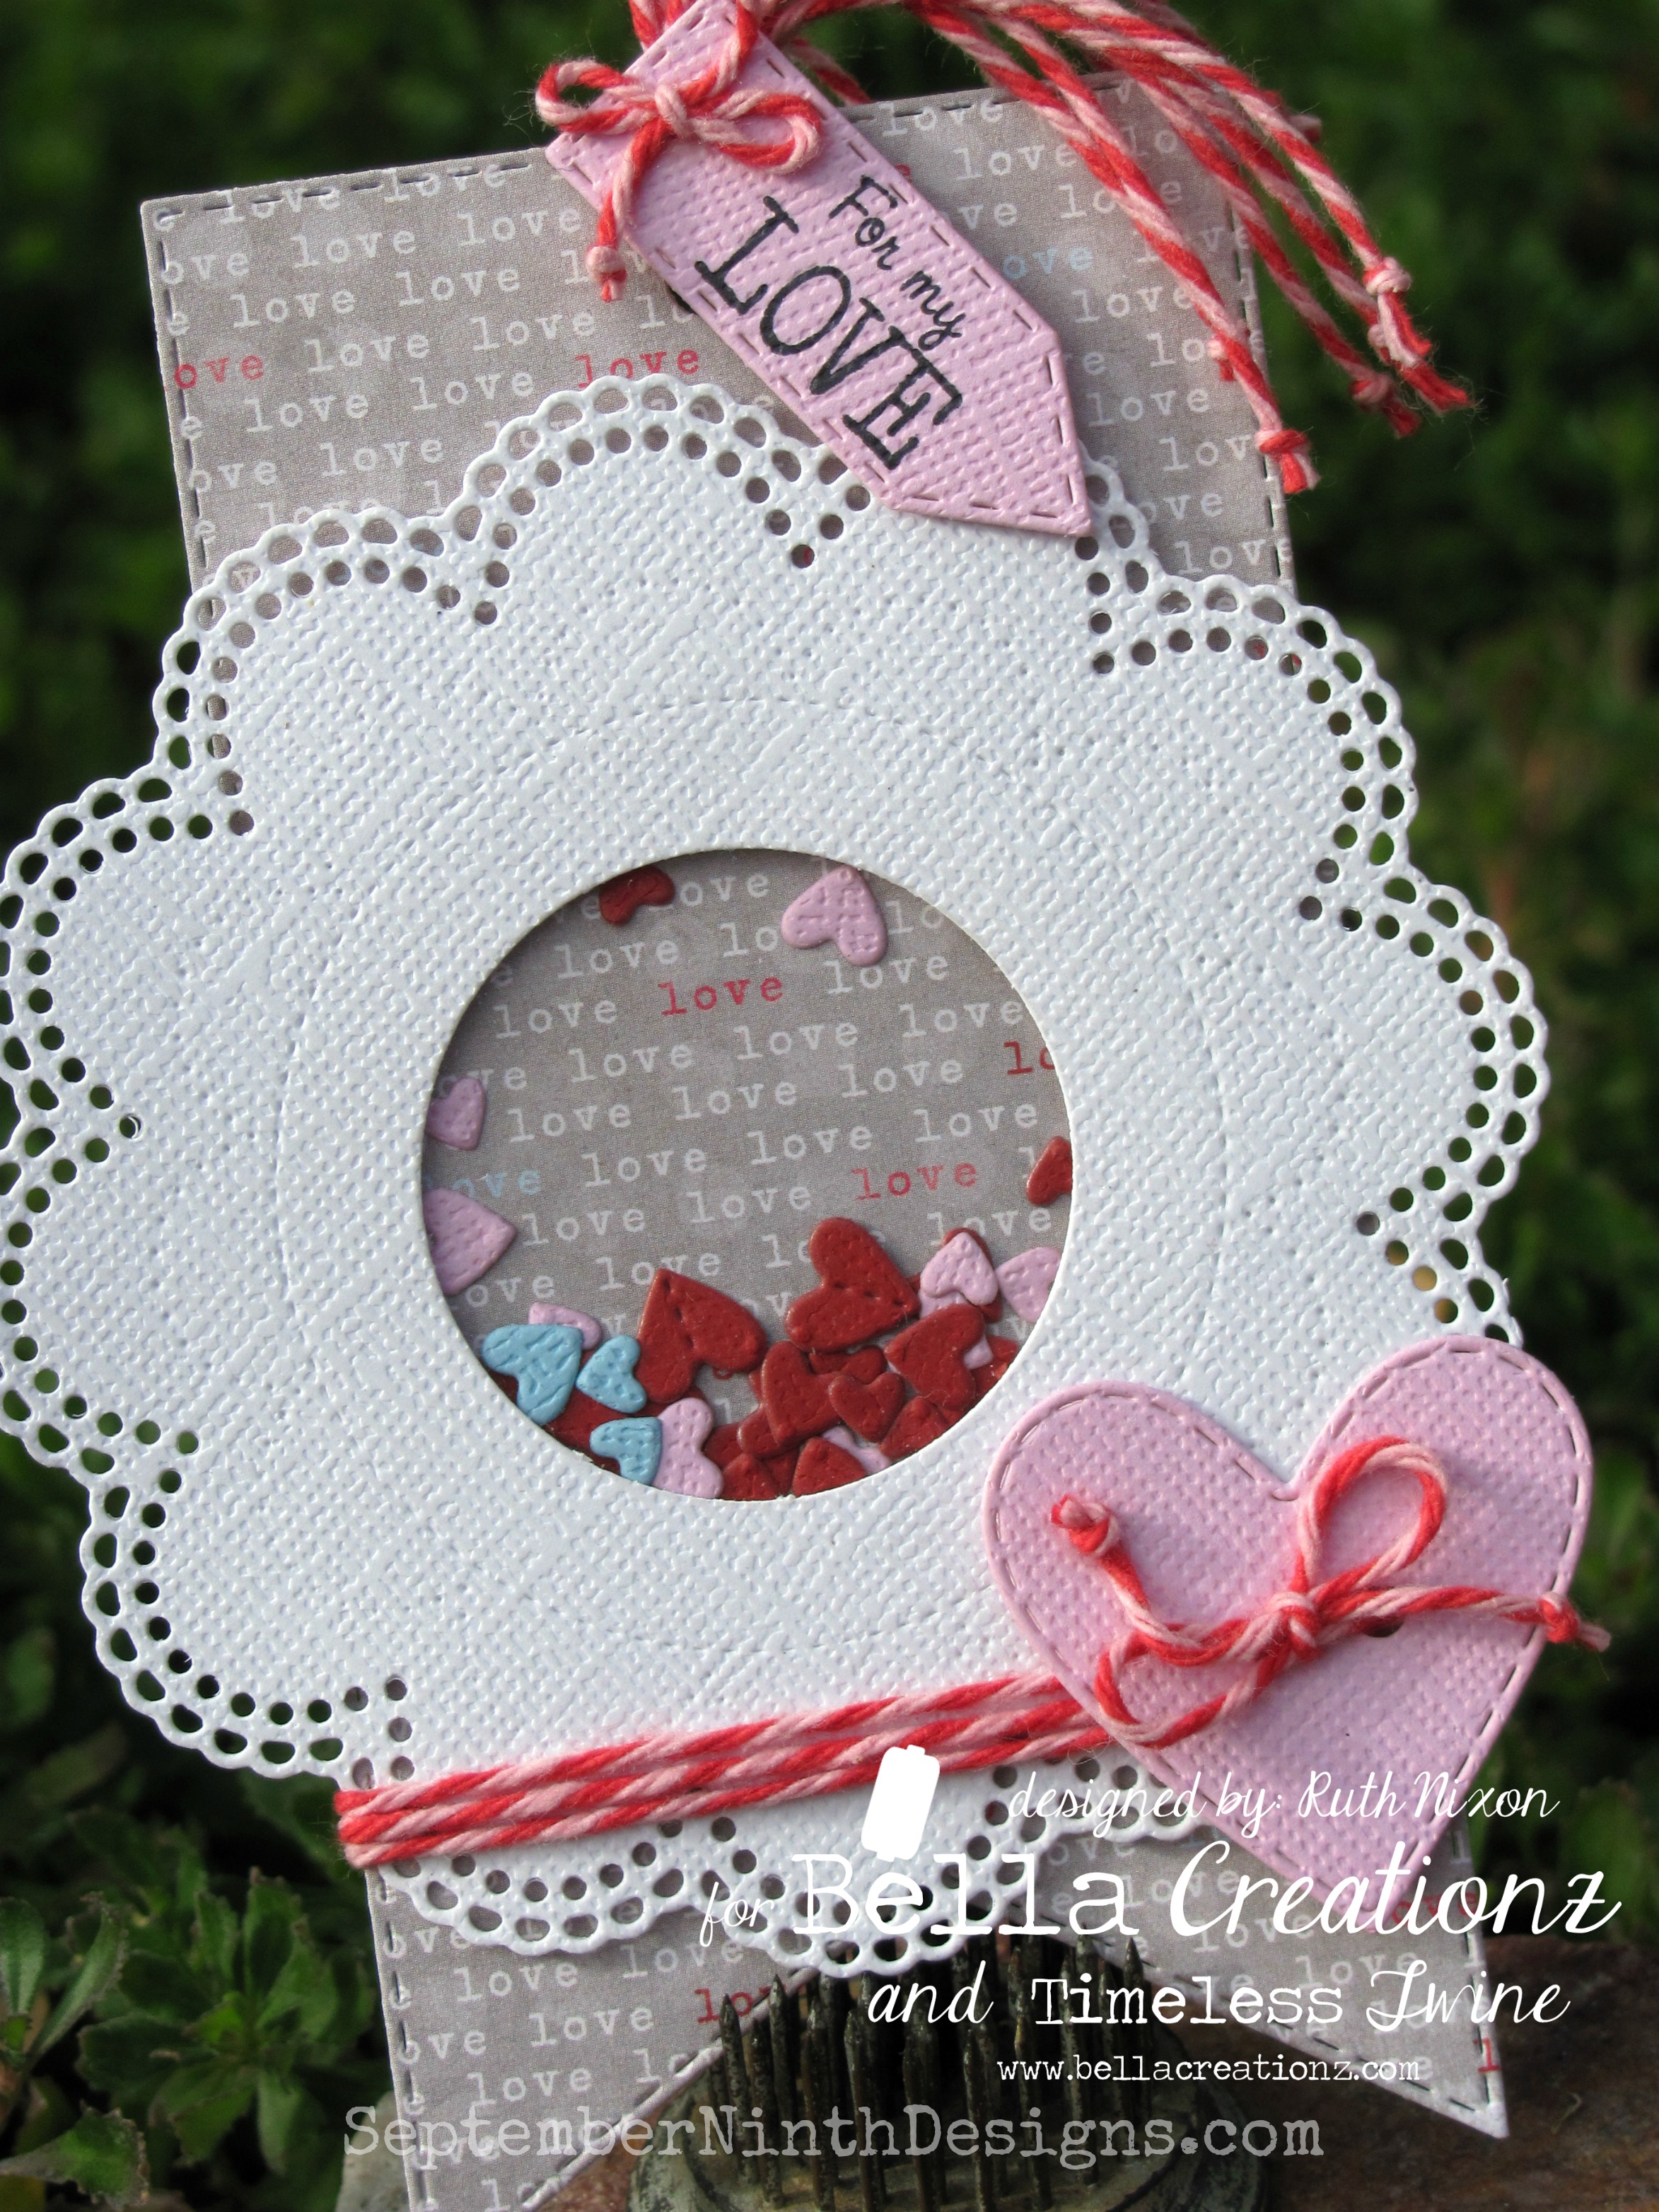
Now you want to know all the fabulous Timeless Twine and Bella Creations goodies I used on these mini album pages? LOTS! 

Glassine Bags - 3" x 5-1/2" - Set of 100
I used these on the inside of the front cover to hold the tags/photo mats. 

SALE - Bubble Gum Pink Bakers Twine by Timeless Twine
This is used on the first page of the album on the top note die-cut. Perfect touch! 

4" Paper Lace Doilies - Set of 25 - "FREE SHIPPING"
Also used these on the first page as well. I spritzed them with some mist, let dry and cut them into quarters. I added them to the corners of the first page. 

SALE - Graphite Gray Bakers Twine by Timeless Twine - 1 Spool (160 Yards)
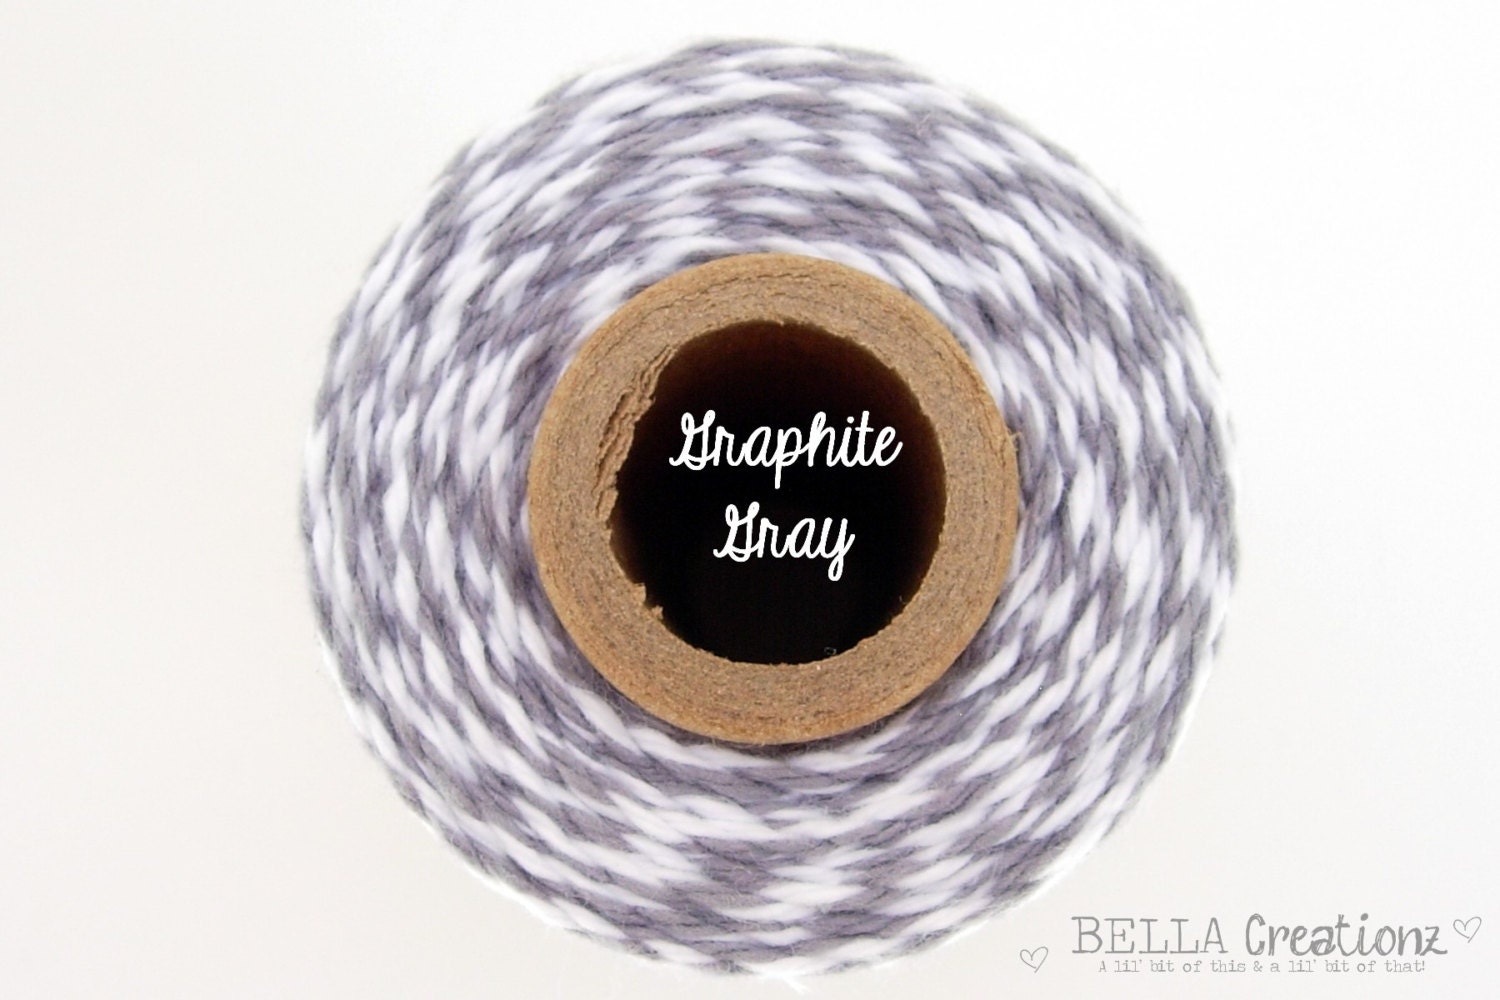
I used the Graphite Gray on the left side of the second page to hold the charm. 

Valentine's Day Bakers Twine by Timeless Twine - Strawberry Cupcake Valentine's Twine

SALE - Cherry Red Bakers Twine by Timeless Twine - 1 Spool (160 Yards)

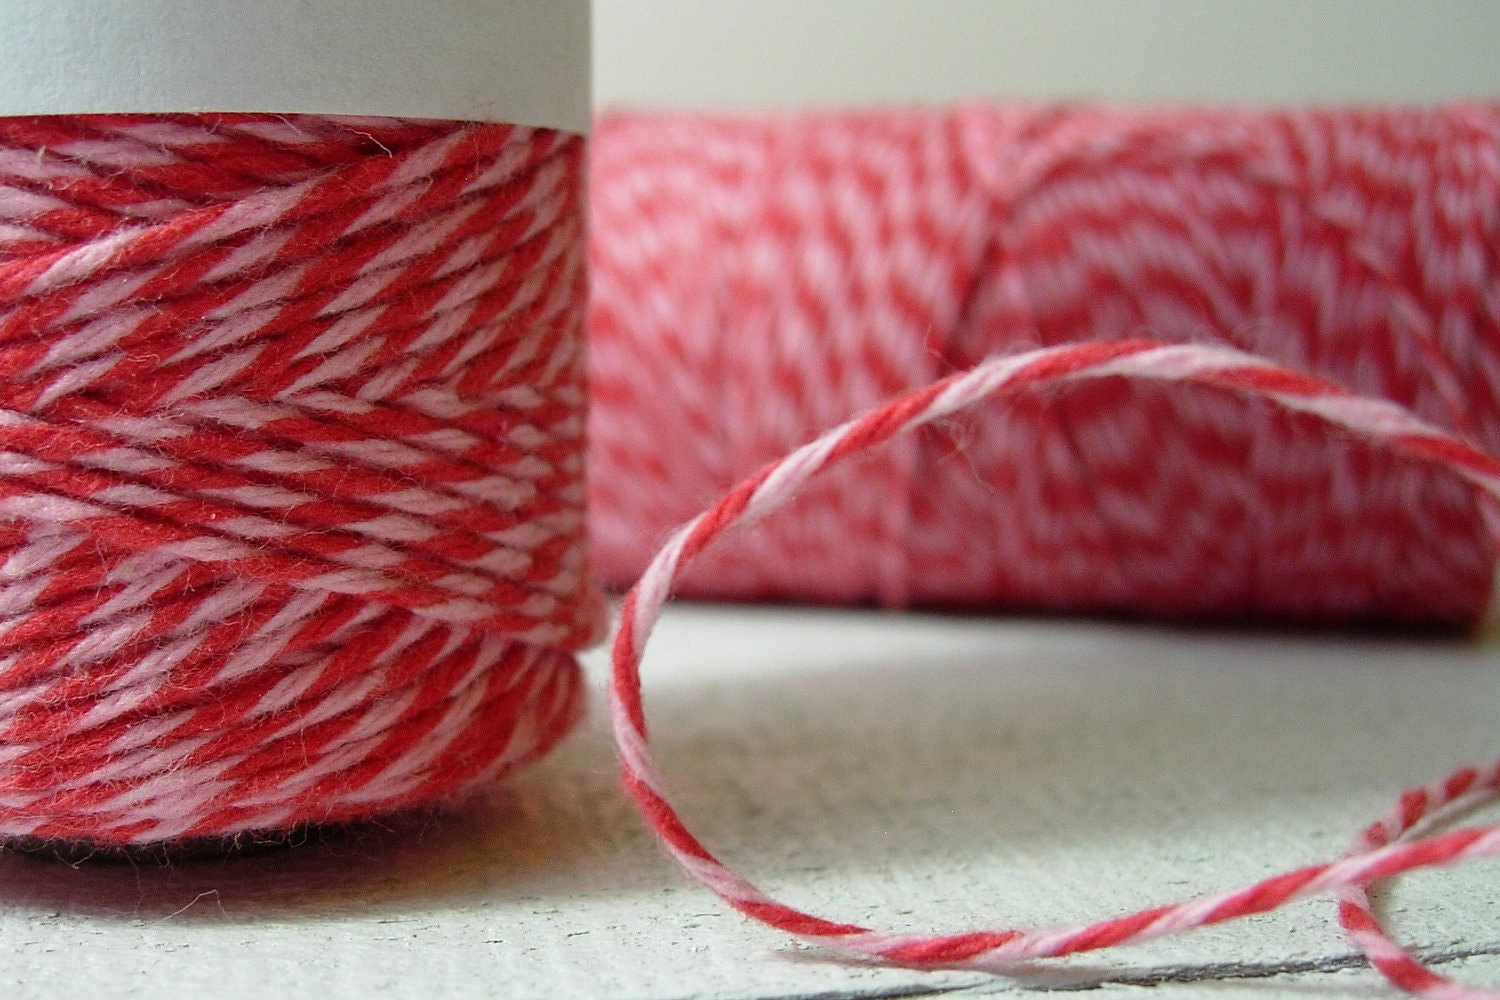
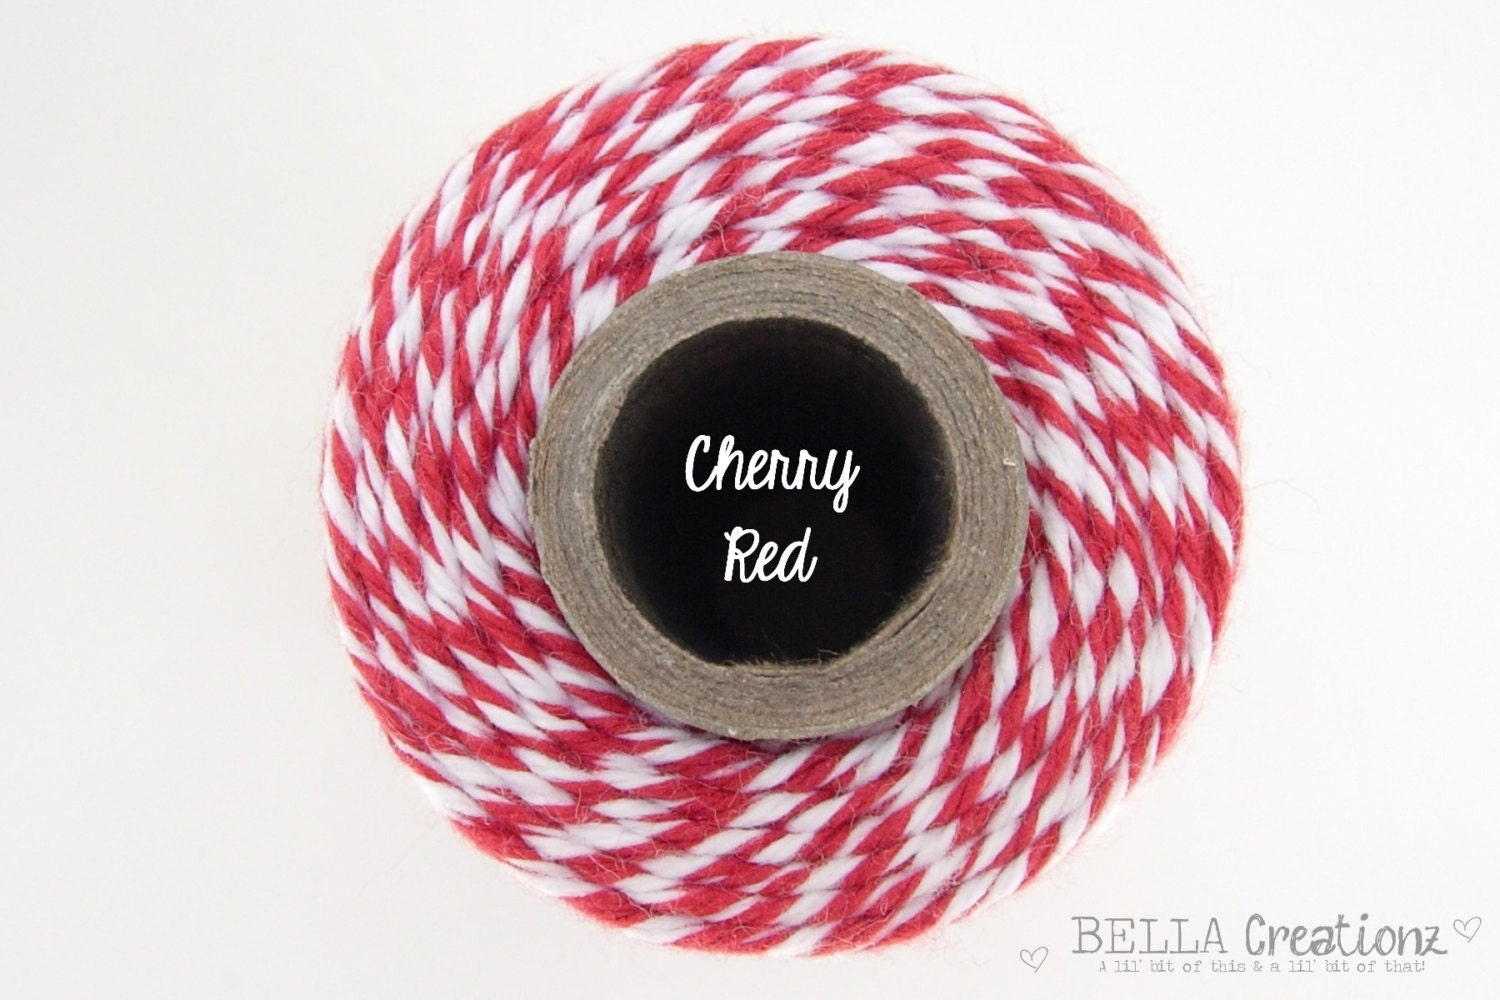
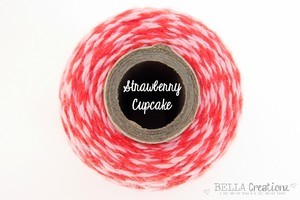
Both of the Valentine's Day twine and the Cherry Red twine will be used through out the entire album, as they match my paper and theme perfectly. 

Well, that's all for now. I hope I have inspired everyone to try something new this year! Don't let those things you THINK you cannot do get the best of you. You can do it, so go for it and step outside of that comfort zone and go for it!

 Don't forget to stop by and follow my personal blog if you would like to see the completed mini album. Thanks for stopping by today to peek at my project. I hope you all have a twine-tastic day!! 

Hugs, 

Kristy 


Friday, January 10, 2014

Shaker Tag

Happy Friday!

Hey Everyone, it's Ruthie from September Ninth Designs. This is my official first post as a "Twine-ista" and I am super excited to be a part of this years dt! This month, here on the blog, all the Twine-ista's will be sharing projects with a "something new" theme. That "something new"can be a new technique, new color of twine, new product from the store, or a new tool that we use while making our project.

The last six months are so I have been obsessed with shaker cards, but sadly, I have yet to make one. I thought this would be the perfect opportunity to get my "shaker" groove on! :)  I decided on making a Valentine's shaker tag. It was pretty easy. If you are wondering how they are made, here's a great tutorial.
2-2-2
I didn't have the right color sequins, to put in the "shaker"part, so I made my own with three tiny heart dies that I have. I was going to add some tiny beads as well, but I was so excited to see the "shaker" in action, that I forgot to add them. LOL... oh well, next time.

I added some Strawberry Cupcake twine to the top of the tag and also around the bottom, to attach the heart.
1-1-1
Paper: DCWV & Recolletions
My Creative Time Products:
4x4 Journal Die + More
Stitched Doily Die
Tag Dies
Teeny Tags Layering Dies
Teeny Tag Holidays
 Scallop & Stitched Circle Die

I used the Strawberry Cupcake twine. You can find it, a ton of other colors, and lots of fun packaging in the Bella Creationz store.
15_Strawberry_Cupcake_01

Don't forget to stop back by tomorrow for more "something new" inspiration! 

I hope you have a wonderful day!

Monday, February 4, 2013

Nasty tooth / Love

Hi there! 
This is Ana Maria from Shorty Creations =D
I've got two cards to share with you today.
My first card is intended for my awesome dental assistant friend who helped my girls at their checkup last week. I used Chocolate Chip Bakers Twine to accent the base of the card.  
My second card is a Valentine inspired card. 
I used Valentine's Bakers Twine to frame the sentiment.
The Valentine Bakers Twine is on sale for just $7.00 a spool!
What an awesome deal!!!
We'd love to see what you create with your Timeless Twine. Share your projects with us on our Facebook Page and check back again tomorrow to see what awesome projects our twine-istas have to share with you!


Sunday, February 3, 2013

Valentine's Decor

Click here if you want to go to the  "Love is in the Air" hop!
Mandi here with a little twine love today for your windows.

To make them was simple.  Here is what you need to do. 

1. Draw a heart onto the parchment paper.
2. Outline the heart twine. Use glossy accents to adhere the twine. 
3. Fill with the paint.
4. Let dry.
Tip: if your stickers don't cling to the window use a little double-sided tape to make them stick.

Valentine's Bakers Twine {Strawberry Cupcake }

Aqua Blue


Thursday, January 10, 2013

I Heart Ewe Valentine Card

 
Hi Everyone!  How's it going?
 
Melisa from Melisa's Crafty Creations here today with my first project as a Twine-ista.  I have had so much fun making Valentine day projects, I thought I would make a card to share with you. 
 
Here it is.  I used the Bubble Gum Pink twine for the bows on the sheep's ears. I also used Strawberry Cupcake Twine under my sentiment. The sentiment is from Jaded Blossom's Funny Valentine Stamp set. 


Thanks for stopping by today!  Don't forget to post your projects on the Timeless Twine Facebook page.  We would love to see them. 
 
Have a Twinetastic day!
 
Melisa

Friday, January 4, 2013

Cutie Pie

Good Morning sweet twine friends, Annette here with you today sharing a fun Valentines card using Timeless Twine Valentines Day Bakers Twine also known as Strawberry cupcake. I just love making Valentines cards they just make me happy. On this card I made a border using the twine by adhering the twine down with Martha Stewart all purpose Gel adhesive. This works great because it dries clear and is not messy. 
Valentines Day AKA Strawberry Cupcake
We would love to see what you create with your Timeless Twine. Please share your projects with us on our Facebook page. Also make sure you come back because the new design team is going to wow you with there amazing creations.

Have a twinetastic day...

Friday, February 3, 2012

Sweet Heart

Hi Everybody!

Jenny from
Crazy About Cricut here, and I'm so happy to be sharing another design team project with you!  My kids and I are starting on treat bags so we can hopefully finish by Valentine's Day :)  Here's one of the ones I'll be making:


* Timeless Twine = Valentine's Day Bakers Twine
*Mini Monsters Cricut cartridge (bag)
*Pink By Design = Be Mine set
*pearl from my stash


*To create this heart, I just punched out a heart with a Stampin' Up! punch.

*Next, I cut little strips of the  Valentine's Day Bakers Twine, and adhered them down to the heart.

*Then I trimmed the excess twine that was hanging off of the heart.

*Finally, I put it on a pop dot, and attached it to the treat bag.


*Some stitching all around the bag and I was done!

 
Isn't that so cute?!  I hope you enjoyed my project! Make sure you come back tomorrow to check out more amazing twine inspired projects from the design team :O)