Debbie here from Craftin' Chaos. Our theme the rest of the month is Halloween or fall and we are to use Autumn Splendor which is on sale for $2.25 a roll!!! A roll people not a little bit a whole roll!! So I wanted to make a fall themed card. Weird a bit cause I am such a halloween lover but I wanted to use these cute little leaf dies.
So I just cut out several of the leaves in several different colors. Distress inked the edges, added the autumn splendor twine and a cute tag with a sentiment and it was a done deal. The paper I thought went perfect with the colors I wanted to use. I wish I could have done a cute shaped card but my time is pretty thin right now and I had to just go with a simple shape and used a corner rounder. I think it is still ok.
Don't forget to stop over and grab some of the twine cause I mean for $2.25 for that many yards is crazy cheap!!
Showing posts with label Timeless Twine. Show all posts
Wednesday, October 28, 2015
Saturday, August 15, 2015
Mrs. Brimbles weaving project
Hi All, it's Anna aka Mrs Brimbles back again to share something different with you this week...
Many moons ago I went to college (I'm not gonna tell you how long because it makes me feel old he he!) and at college I studied art in many forms. I did the traditional drawing and painting but also some textile arts. I loved the textile arts more than I did the paining and drawing as I had less criticisms from the tutors for these. Yes I was criticised heavily by my teachers who just didn't 'get me', it's only because I loved art so much that I carried on regardless but that is another story for another day! The two textile art modules that I took where weaving and batik.
I haven't thought about my weaving for a long, long time. I used to love it though and got some very good marks for it. One day I was browsing on instagram and a weaving came up in my feed. I followed some of the hastags as I often do and found myself immersed in various weaving accounts which I have been lusting over ever since.
I decided to get my loom out again, I kept it because I knew one day I would use it again. Since I saw those photos I have actually made a few weavings, it's a bit like riding a bike, how to do it came flooding back to me. I am not quite as good as I used to be as following an accident I had last year with one of my hands my dexterity skills aren't quite as good as they used to be for finer work. Still I don't let that deter me, I enjoy it and find it very relaxing. As much as I like to paint and draw, there is something to be said for making or crafting somthing 3d with your hands and seeing it come to life.
I am always looking at different woold and fibres as my love for the art has never waivered. One of the things with weaving or textile arts is that it can be more pleasing to the eye to have more textures to look at so when I saw the twine from Timeless Twine I knew it would be perfect to incorporate into a weaving project!
I used the pink and white twine to create the warp. The warp is the vertical threads that you then weave your project onto. Once this was done I was then off! Here is what my finished piece looks like:
As you can see I used various shades of pink and white. I used this colour scheme as I had a friend in mind that I wanted to make this for and she loves pink!
I used a stick that I found when out on one of my walks in the woods near where I live. I love that you can bring personal elements that mean something to you into your art and your work. I used the same twine for the hanging loop.
Here are some close up images of the finished piece:
As I mentioned, this was a gift for a friend so I had to package it up all nicely. Funnily enough, packaging and wrapping is not my strong point what so ever! I have never been very good at it, I don't know why! Anyways I try my best. I used manilla tissue paper to wrap it up, folded a doilly round (I have Pinterest to thank for that!) and then used one of the other twines to 'string it up'. If I do say so myself, it looks rather nice.
I really hope my friend likes it and I hope you have enjoyed seeing something a little bit different to my usual art / journal / planner posts!
Many moons ago I went to college (I'm not gonna tell you how long because it makes me feel old he he!) and at college I studied art in many forms. I did the traditional drawing and painting but also some textile arts. I loved the textile arts more than I did the paining and drawing as I had less criticisms from the tutors for these. Yes I was criticised heavily by my teachers who just didn't 'get me', it's only because I loved art so much that I carried on regardless but that is another story for another day! The two textile art modules that I took where weaving and batik.
I haven't thought about my weaving for a long, long time. I used to love it though and got some very good marks for it. One day I was browsing on instagram and a weaving came up in my feed. I followed some of the hastags as I often do and found myself immersed in various weaving accounts which I have been lusting over ever since.
I decided to get my loom out again, I kept it because I knew one day I would use it again. Since I saw those photos I have actually made a few weavings, it's a bit like riding a bike, how to do it came flooding back to me. I am not quite as good as I used to be as following an accident I had last year with one of my hands my dexterity skills aren't quite as good as they used to be for finer work. Still I don't let that deter me, I enjoy it and find it very relaxing. As much as I like to paint and draw, there is something to be said for making or crafting somthing 3d with your hands and seeing it come to life.
I am always looking at different woold and fibres as my love for the art has never waivered. One of the things with weaving or textile arts is that it can be more pleasing to the eye to have more textures to look at so when I saw the twine from Timeless Twine I knew it would be perfect to incorporate into a weaving project!
I used the pink and white twine to create the warp. The warp is the vertical threads that you then weave your project onto. Once this was done I was then off! Here is what my finished piece looks like:
As you can see I used various shades of pink and white. I used this colour scheme as I had a friend in mind that I wanted to make this for and she loves pink!
I used a stick that I found when out on one of my walks in the woods near where I live. I love that you can bring personal elements that mean something to you into your art and your work. I used the same twine for the hanging loop.
Here are some close up images of the finished piece:
As I mentioned, this was a gift for a friend so I had to package it up all nicely. Funnily enough, packaging and wrapping is not my strong point what so ever! I have never been very good at it, I don't know why! Anyways I try my best. I used manilla tissue paper to wrap it up, folded a doilly round (I have Pinterest to thank for that!) and then used one of the other twines to 'string it up'. If I do say so myself, it looks rather nice.
I really hope my friend likes it and I hope you have enjoyed seeing something a little bit different to my usual art / journal / planner posts!
Labels:
loom,
Mrs Brimbles,
Timeless Twine,
weave,
weaving
Monday, June 22, 2015
Treats, treats, and more Treats!
Hi! This is Cathy from
Today I'm sharing a project for
This month we are showing the Firecracker Twine
on our projects. It's so fun to have the
perfect touch of twine for any project
I make.
I made some cute little wrapped
Hershey Hugs using the traditional
red, white and blue theme.
Didn't this turn out cute?
It always amazes me how using colored ink
and teaming it up with coordinating
paper colors and twine finishes off a project.
Thanks for stopping by and don't forget to visit
for all of your twine needs!
Cathy
Sunday, June 21, 2015
planNERD Sunday with my new Color Crush!
Happy Father's Day! Ashley here, from Marine Wife's Scrappin' Life, to share a few pages of my new Color Crush planner with you. I was fortunate enough to be able to purchase one of these from someone who decided it wasn't for them, but I'm still trying to get used to the smaller size! I've always used the larger DayTimer 5x8 size, so this one is a little different for me.
I've decided to share with you today both my monthly page spread for June and this past week's pages.
Supplies Used
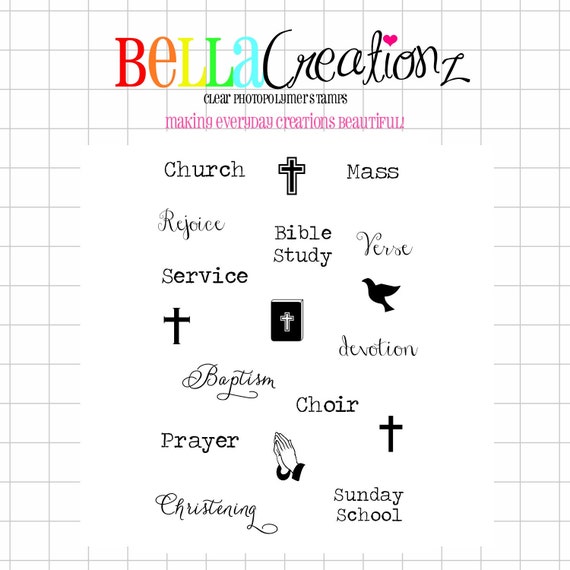
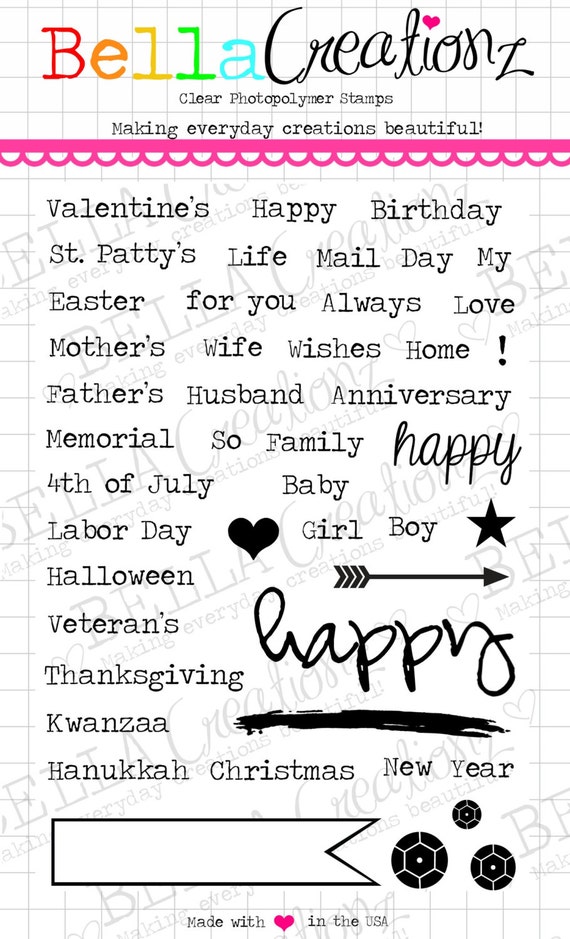
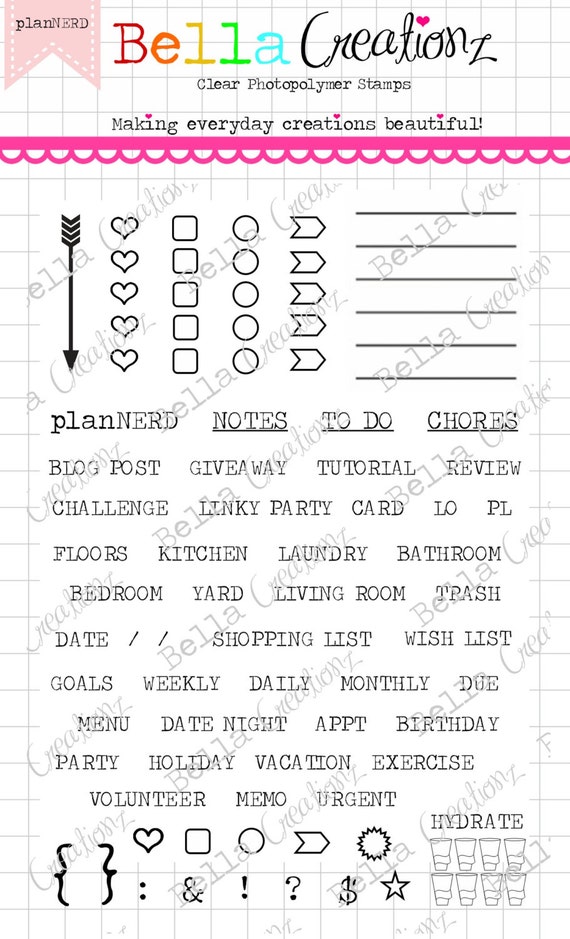
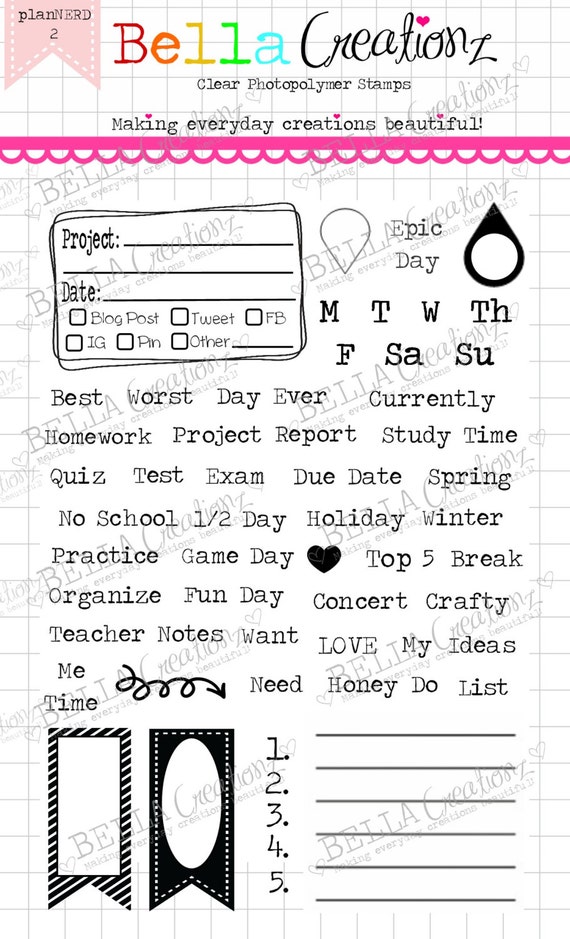
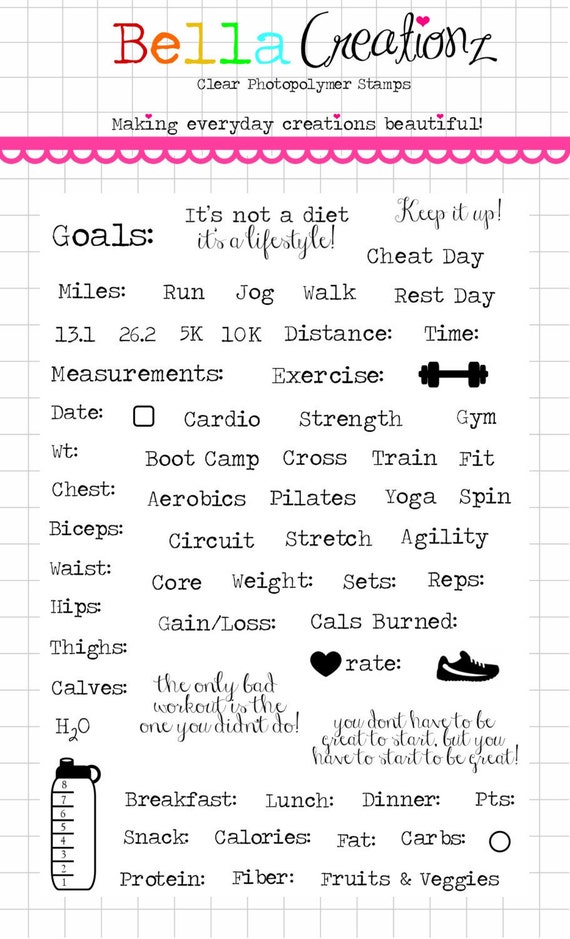
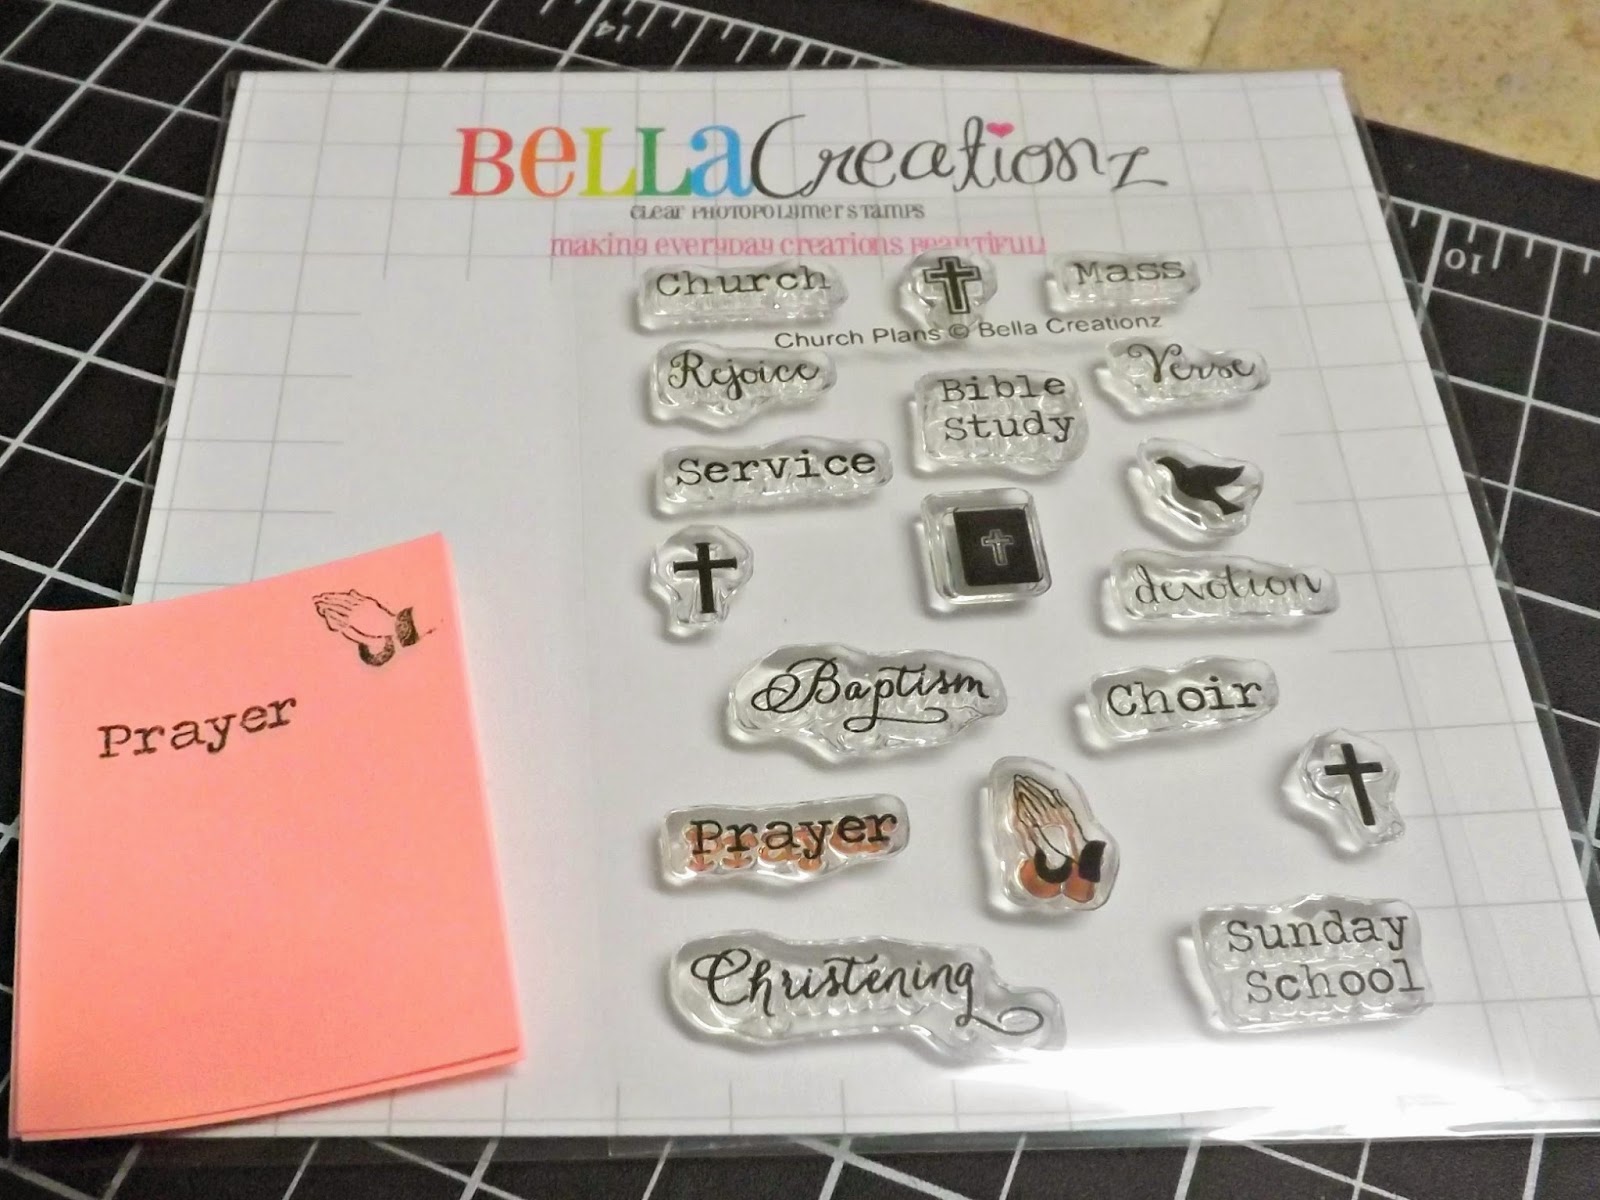
Bella Creationz Church Plans, Happy Days, planNERD, planNERD 2, Plan to be Fit stamp sets
Inks from stash
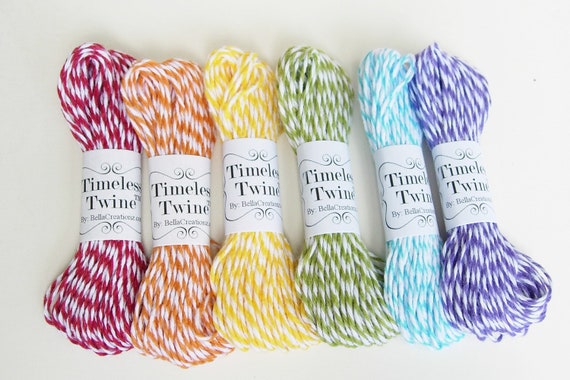
Timeless Twine in Lemonade Yellow and Purple Passion
Washi tape from stash


I'm still working on the whole planner-decorating thing with the new size, so I think it's going to be a work-in-progress for a while. Maybe I'll decide just what I want to do fairly soon!
Thanks for stopping by! Happy scrapping!
I've decided to share with you today both my monthly page spread for June and this past week's pages.
Bella Creationz Church Plans, Happy Days, planNERD, planNERD 2, Plan to be Fit stamp sets
Inks from stash
Timeless Twine in Lemonade Yellow and Purple Passion
Washi tape from stash


I'm still working on the whole planner-decorating thing with the new size, so I think it's going to be a work-in-progress for a while. Maybe I'll decide just what I want to do fairly soon!
Thanks for stopping by! Happy scrapping!
Friday, June 19, 2015
Lighted Gazebo Party Decor
Hi everyone, Maria here from Maria Lina's Creative Designs. For my project, I decided to make some party décor. I found this Gazebo file in the Silhouette store - design #79278, I chose colors that would fit perfectly with a summer theme, be it a pool or beach party, or whatever fun party your having.
I used some "Firecracker" twine and a "white doily" from Bella Creationz. I also added some blue brads and small white flowers. I haven't gone to a summer party yet that hasn't continued into the evening, which is why I thought it would be cute to add the little LED candle.
Enjoy...
![]() |
| Firecracker Twine |
Have a great day!!!
Labels:
3d project,
Bella Creationz,
Firecracker Twine,
home decor,
Party Ideas,
Summer,
Timeless Twine
Monday, June 8, 2015
Home of the Brave!
Hello! This is Cathy and today
it's my turn to design for Timeless Twine
I had two brother who served in the military a long
time ago and I got to thinking, I'm not sure I ever
"thanked" them for their service.
My brother Bob who served in Viet Nam died
two years ago so I hope he reads my post, however
Dave will be receiving this card in honor
of his service. Dave was in Germany.
I had hoped for some sun, but it has been rainy
and overcast all day, so pardon pictures!
The chevron die is from My Creative Time and
it's the first time I've used it! I love the
military look of this card!
The Firecracker Twine is a nice touch above
the sentiment also from MCT product line.
I plan to write a personal note to my brother
and thank him for his dedication to our nation.
I hope my post today spurs you on to thank
a vet for their service. I don't want to take
for granted what so many do for us so we can
live our lives in freedom.
GOD BLESS AMERICA!
CATHY
Friday, June 5, 2015
Up and Away, Hot Air Balloon Step Card
Hi everyone, today I'm sharing a Hot Air Balloon card that I made as my Timeless Twine project. I found the svg files in the Silhouette store - Hot Air Balloon #38875 and the center panel step card #39775. I used the "Firecracker" Timeless Twine and Cardz TV Stamps "Just Saying" for the sentiment inside.
I did some shading with some of TH ink pads, I added a couple of buttons and some foam tape, easy peasy!
Enjoy...
![]() |
| Firecracker |
Have a great day!!!
Labels:
Card,
Firecracker Twine,
Just Because,
Timeless Twine
Friday, May 22, 2015
Fun Friday!
Happy Friday, everyone! Ashley here from Marine Wife's Scrappin' Life for Fun Friday. I have to apologize first off, because I completed my projects then realized just a few moments before posting that I was supposed to use a particular stamp set this month. I'm so sorry, guys!!!
For Fun Friday this week, I decided to make mortarboard tassels with Timeless Twine, as I needed a couple of graduation cards and had never made tassels for a card. I think they turned out pretty cute!
It's a little hard to see, but the twine is wrapped around a black brad in the center of the "mortarboard."
Supplies Used
Black brads--stash
Cuttlebug embossing folders
Timeless Twine in Cherry Red and Tuxedo Black
Thanks for stopping by! Have a great weekend everyone!
Labels:
Cherry Red,
Cuttlebug,
Timeless Twine,
Tuxedo Black
Location:
Batesville, AR, USA
Sunday, May 17, 2015
Plan Nerd Sunday!
Hello, this is Cathy from
Mimi's Craft Corner and it's my
turn to share ideas for
My confession on this Sunday is
that I don't always stamp in my
planner weekly!
I know - SHOCK!
What I do is have these little
post it notes ready when I don't have time!
I've shared these before, but wanted to
give you some ideas on how to use them.
I keep a pad of these notes with me at all time
and when I think of something that is needed on my list
I just write it out and add it to
my ECLP.
For the weekends, my To Do are
usually of a shopping nature and
it's time for that Honey Do List!
The stamps came from Plan Nerd Stamp Set
Let's not forget all those times your
heart aches for someone and what they
are going through. You want to add them
to your prayer list, but are afraid you will
forget before you get home. I have a
pad of these ready also!
I can't tell you how many times these
little guys have saved me!
Now before I leave you today, I wanted to give you a
quick idea for all of you insta photo gals.
I found these on clearance at Hobby Lobby.
Perfect size for 3x3 notes ( my absolute all
time fav size note to create!! ) but look how much fun they
are with photos.
It's an instant background of color, in
the perfect size! These will fit lovely in your
ECLP or your Midori Travel Planner.
Create beautiful photo displays in seconds
and add that special touch with
Bella Creationz Stamp set
OH SNAP!
Happy Sunday!
Cathy
Thursday, May 14, 2015
Throw Back Thursday at Bella Creationz today
Hi Bev here today. Welcome to Throw back Thursday on Bella Creationz Timeless Twine.
I am sharing a double page layout that when I created it OMG years ago
I didn't use doily's, stamps, twine or sequins,
So much back then was about stickers, rubons and chipboard accents.
Below is the details of my changes and makeover to my page.
Clusters look awesome with a touch of sequins. I also stamped in 2 spots with fun green ink.
Another section with a cluster with more sequins.
I added Timeless Twine wrapped around and tied a knot.
This section shows a touch more wrapped twine with a metal key added.
Then below the chipboard accent I added a doily.
Here is my full revised double page with lots of Bella Creationz products.
Super fun to see it redone using so many more amazing products available from today.


Thanks for stopping by.. and be sure to check the store
out for all the amazing products available.
Subscribe to:
Posts (Atom)