Tuesday, April 7, 2015

Tag It with Flowers!

Happy Tuesday, everyone!  Ashley from Marine Wife's Scrappin' Life here for Tag It Tuesday at Timeless Twine.  This month is all about spring and the Sorbet Collection of twine, so I decided to make some cute flower tags.


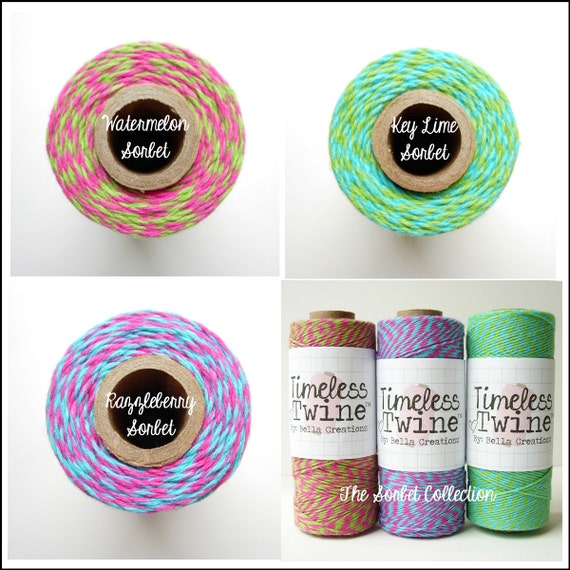
You can find out more about these cute tags by hopping over to my blog.  Don't forget that the Sorbet Collection is on sale all month long!  Thanks for stopping by, and happy scrapping!

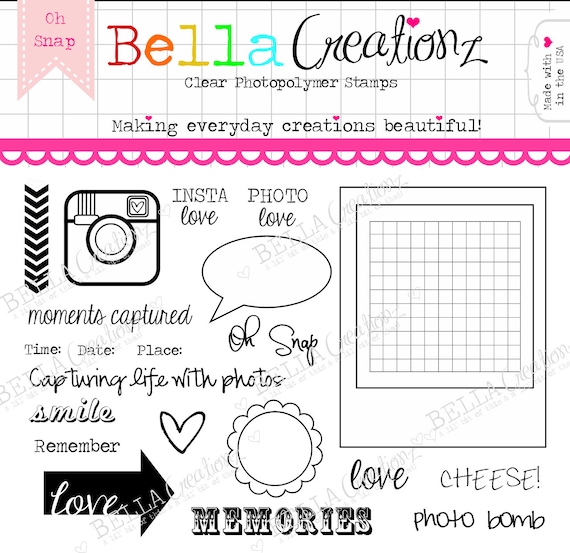
SALE - Sorbet Collection Bakers Twine by Timeless TwineCamera Stamp Clear Stamp Set "Oh Snap" - Perfect for Project Life, Instagram, Polaroid scrapbook pages or cards.


Monday, April 6, 2015

Mostly Monochrome Monday

Well, it's Monday again.  Why, oh why does that have to happen EVERY week?!  LOL  Karen N here from from Craftily Yours!

My post today is for Monochrome Monday, but I was tasked to use the very fabulous Timeless Twine in one of the Sorbet colors!  These fabulous twines are duo-colored, so here's what I did for MOSTLY Monochrome Monday!

We were asked also to something Spring.  It's been Spring here in No California since Fall.....so I got this.  That beautiful twine is Razzleberry Sorbet Timeless Twine, and I used some pretty Bella Creationz White Frost Sequins (coming soon).  Love sequins!  

Thanks so much for stopping by today.  Have you "liked" Timeless Twine on Facebook yet?  You should, so you stay up on all the lovely twine-tastic goodness....  And while you are browsing around, go see all the lovelies at the Bella Creationz Shop!  Be sure to check out the hecka-good deal on Sorbet twine this month!

Craftily yours,

Karen


Sunday, April 5, 2015

PlannerD Sunday : Going Simple

Hi friends.
It's me Padni from Paper Flavour.
I want to share with you what I made for my PlannerD Sunday.
I use new weekly insert pages that I found in my local bookstores. So I will be going to make a simple insert decor this time.


I stamp the insert with PlannerD Stamps and to make it bolder I draw on the stamp images using my faber castell pen. I put a 3x4 card in my planner and I stamped a quote from Bella Creationz Stamp on it, also I make a simple knot with twines to be glued on the card.


I use supply from Elle's Studio and thickers to add more dimensions on the insert. Sometimes I love to see my insert pages clean and simple. So I can have more writing space.


Here the supply I use :

Planner Stamp Clear Stamp Set "planNERD"

Planner Stamps Clear Stamp Set "planNERD 2"

Happy Days Clear Stamp Set

Camera Stamp Clear Stamp Set "Oh Snap"

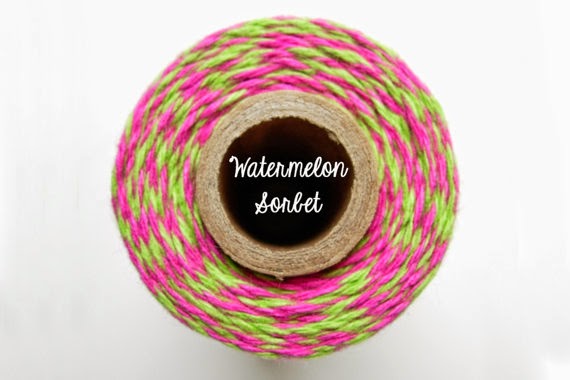
NEW Pink and Lime Green Bakers Twine by Timeless Twine - Watermelon Sorbet

Visit Bella Creationz to purchase pretty supplies for your craft need.
Have a great day, everyone!


Padni.

Saturday, April 4, 2015

Sequin/Shaker Saturday - A Non-traditional Approach

Hi again, friends!

It's spring!  It's allergy season!  It's time for fun, happy colors!!

Amber with Best Stamped Intentions with you today with a sequin/shaker Saturday project.

Typical shaker cards have a little bit of bulk to them that wasn't going to work for my purposes.  If something doesn't work for what you're needing, there's no rules that say you HAVE to do it a certain way.  Be creative!!

This is how thin the card is.


I guess you could say this isn't a traditional shaker card.
(I've always been a bit of a rule breaker. ;))  

Here's the entire set that I made.


I am in {LOVE} with this 4x6 title card!  Before I put the sequins in, I tied a bow made out of Razzleberry Sorbet twine around the backer card.  I think it turned out great and it's definitely something I'll do again!

The smaller 3x4 cards:


I cut 3 smaller than the card strands of  Key Lime Sorbet twine and stapled them down on the card for some added texture.  The "Happy Spring" card is also a flat shaker and stamped with the Bella Creationz PlanNERD stamps, and the journaling card is stamped with the Oh, Snap! set.

(A slight obsession w/these stamps is happening here....)
  
This project was SO fun for me to do!  I can't wait for April to end so I can get my pics printed and get them and these cards right into my album. :)

xoxo, Amber

Saturday, March 28, 2015

Shaker Treat Box

Hi Everybody!
Jenny from Crazy About Cricut here, and it's time to shake it for another Shaker/Sequins Saturday!  For today's project, I created this super fun Shaker Treat Box! 


*I'm always looking for fun treat boxes, and this 3D Shaker Window Box was awesome!
*The star shaped sequins coordinated perfectly with my patterned cardstock.  
*I added a twine border on the lid.  And since there's always a color of twine to coordinate with any project, the Pumpkin Orange twine was perfect!


*Add some fun, colorful treats on the inside for the perfect treat :D

I also thought today was the perfect day to share how I store my Timeless Twine/Bella Creationz sequins:

*I LOVE these containers from Craft Mates.  They have locking compartments, so if you drop the container there is no spilled sequins all over the floor!

*When you get your goodies from the Bella Creationz store, they all come fabulously labeled.  So I took those labels off, and put them on the compartment lids!!  This way, when I want to reorder anything I already have the exact name of the product :D


*Here's some more sequins colors.


Click on the pictures below to grab the Timeless Twine/Bella Creationz supplies I used:


I hope you enjoyed my project!  Make sure to check back daily for more inspiration from the design team.  TFL, and hope everyone has a chance to craft today :)

Friday, March 27, 2015

Say Cheese Mini Album

Hi everyone, Maria here from Maria Lina's Creative Designs, today at Timeless Twine it is Fun Friday...Create something fun! So for my project I made a Camera Mini Album, I've had these awesome papers from Simple Stories "Say Cheese" Collection, that I thought matched perfectly for this project.
 
I used Cherry Red, Lemonade Yellow and Tuxedo Black twine and  from Bella Creationz the Kraft and Gray reinforcement stickers. I liked the use of twine in place of the metals rings that are typically used on mini albums, I think it gives it a softer more playful look.
 
The svg file is from the Silhouette store #43482, I did use the opening on the reverse side, just a preference of mine. I also cut out additional layers for the center of the tag and the top piece of the tag in various colors of papers, I created those  cuts on my own.
 
Enjoy...


Cherry Red

Lemonade Yellow

Tuxedo Black
 

Kraft Reinforcement Stickers

Grey Reinforcement Stickers
 
 Have a great day!!!


Thursday, March 26, 2015

3D Thursday - Travel Journal Mini Book

Happy Thursday, friends!!

Amber with Best Stamped Intentions here with a new pocket layout for you.

On the Timeless Twine Creative Crew, we have set challenges for each day of the month.  On each of my days, I try my very best to meet each challenge using Pocket Scrapbooking.  Well, today is 3D Thursday.

If you pocket scrapbook, you can understand why I would panic a little bit about that! :)  
Truth be told, I almost caved and created a cute little critter on my Silhouette for Easter.  BUT...then I put my big girl panties on and decided that I was going to make this work!  I enjoy a challenge.

So, I went to work.

I chose 3 4x6 themed cards from the Sn@p "Travel" collection that I had laying around just waiting for me to use and folded them in half making 6 mini book pages.  Instead of using staples to put the pages together, I took some of the super cute Timeless Twine to TIE them together!  I chose Chocolate Chip and Olive Green twine - it's darling with these cards!

Here's the full spread:


And a few pages of the mini book:


Lots of spots for journaling things that I don't necessarily want to share with the public.

Like perhaps locking my daughter in the rental car after I had put her in her car seat.  Yeah.....mother of the year moment!!  Thankfully, it wasn't hot and we were still at the rental car place and got her out quick.  Shout out to Budget rental cars!!

I also found this great little travel agenda card that I used the Bella Creationz PlanNerd stamp set to cute it up a bit.  I use these stamps on everything.  Seriously.  They're SO versatile!!!!


Until next time, friends!
xoxo, Amber

Tuesday, March 24, 2015

Planner Tassel Fun Tutorial

Debbie here from Craftin' Chaos for Technique Tuesday. I decided I would make a planner tassel and show you how. I used Watermelon Sorbet twine. I know a video would have been better but today has been super busy so hopefully you will understand my tutorial

First I started out with 3 strands of twine and tied a knot at the end and braided it. 


I used a 6x6 paper pad to wrap the twine around. You can use a paper pad, scrap chipboard, cd case or even a video case just as long as it will make your tassel the length you want. 
Wrap the twine around quite a bit to get a full tassel. 


Pull it off the paper pad carefully


Tie some twine in the center, make sure to tie it once and then tie it again in a knot.


Then I tie my braid around it. I have done this another way before also by just sticking it through the top after I am done with the tassel which works well too. This is just a quick alternative. I think I like the other way better to be honest but this is what I did for this particular tassel. 

Gather the twine as shown below


Figure out how far down top section to be and tie a knot around it. Hold the one end down with the bottom section and take the other end and continue to wrap around the top over and over until you like the look of it. Take tweezers or something you can stick up from the bottom to grab that end piece and pull it through to hide the end. Now you can tie it on your favorite planner!